How DoorDash hotspots work (and why you're not getting orders in one)
This guide covers how to read the in-app hotspot map, what the hotspot rankings mean, and how to stop sitting in red zones that have already cooled.

You're parked in a strip mall lot, phone in the mount, sitting dead center in a bright red hotspot. Ten minutes pass. Fifteen. Nothing. The flame icon pulses like it's promising something, but your offer queue stays empty. Meanwhile, a friend dashing three blocks away, outside any visible hotspot, just stacked two back-to-back orders.
That gap between what the hotspot map shows and what actually happens is where many drivers lose money. Hotspots are real signals built from real data, but they aren't promises, and the way DoorDash displays them leads to a set of assumptions that quietly cost you shifts. The drivers who earn consistently from hotspots are the ones who understand what the signal measures, where to physically position themselves relative to it, and when to ignore it entirely.
This guide covers how to read the in-app hotspot map, what the hotspot rankings mean, and how to stop sitting in red zones that have already cooled.
Plan before you dash: Here at Mystro, we built a free DoorDash Heatmap that layers historical offer density by time and day on top of this picture, giving you a planning surface before you leave the house.
What are DoorDash hotspots?
DoorDash hotspots are map overlays inside the Dasher app that highlight areas with elevated order activity. There are two types, and they tell you different things.
Dynamic hotspots show a red hexagonal area with a flame icon. They mark zones where restaurants are currently generating a high volume of orders. When you tap one, the bottom of the screen reads "Busy hotspot zone" [1]. They're the closest thing DoorDash offers to a real-time demand signal.
Historical hotspots display the flame icon without the surrounding red area. They mark locations that have historically seen high order volume at the current hour based on recent patterns. The screen label reads "Previously busy Hotspot zone" when you tap one. They're predictions based on accumulated data, not a live feed.

Both types refresh every 10 minutes inside the app [1]. That refresh rate matters more than many drivers realize: a hotspot that appeared on your screen may already be cooling by the time you arrive, especially if you need to drive more than a few minutes to reach it.
One mechanic worth remembering: you don't have to be physically inside the red hex area to receive orders from that zone [1]. DoorDash says the closer you are, the better your odds, but drivers who park a block or two away from the center of a hotspot, rather than directly on top of it, often receive the same volume of offers with less competition.
When both a historical flame and a dynamic red hex appear together at the same location, that's the strongest signal the app can give you. It means the area is currently busy AND has a pattern of being busy at this time [2]. Prioritize those over a dynamic-only hotspot that might be a short spike.
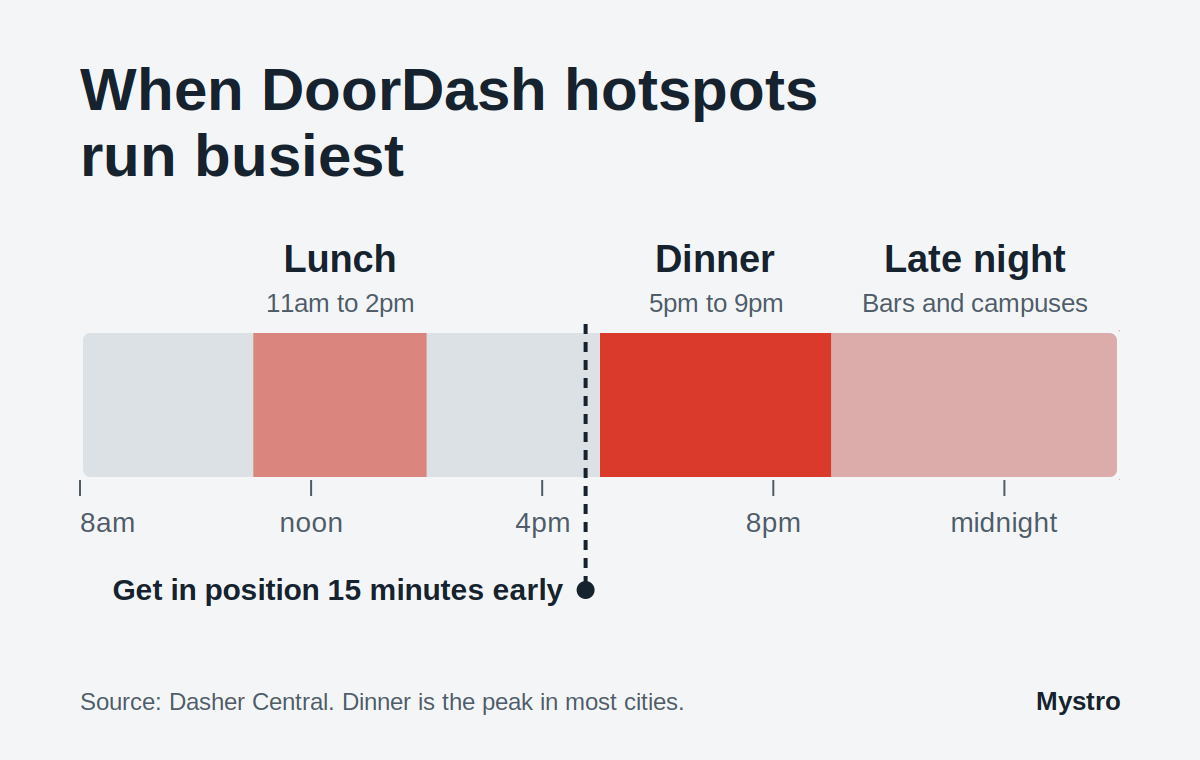
Timing matters as much as location: Hotspots follow the meal rushes, so knowing the best times to drive for deliveries tells you when the map is likely to light up in the first place.
How DoorDash ranks hotspots (and what the rankings mean)
Many Dashers now see active hotspots labeled with one of four tiers: Best spot, Good spots, Crowded, and Most crowded. On the surface, this looks like a straightforward guide to where the money is. It isn't.
DoorDash hasn't published how it assigns these labels. Drivers who track them report that the tiers follow Dasher supply, not earnings or offer frequency, and the names point the same way. "Best spot" appears to mean the zone has the fewest Dashers relative to demand. It doesn't mean it pays the most, generates the most orders, or has the highest-value restaurants.
That distinction changes how you should read the map. A "Crowded" hotspot in a high-volume restaurant corridor might still produce better earnings per hour than a "Best spot" in a residential zone with one pizza place. Read that way, the ranking tells you about competition density. You still have to evaluate whether the area itself is worth your time.
Here's how drivers read the tiers:
Best spot: Lowest Dasher saturation relative to demand, so the least competition for offers.
Good spots: Moderate Dasher coverage. Demand and supply are roughly balanced, but there's still room for additional drivers.
Crowded: High Dasher presence. Orders are flowing, but the per-driver share is thinning.
Most crowded: Heavily saturated. Many drivers are already positioned here. New arrivals are unlikely to get offers quickly.

A crowded label doesn't mean you should avoid the area. DoorDash's own advice is simple: to increase your chances of getting orders, position yourself closer to a hotspot [1]. The label just tells you how much company you'll have.
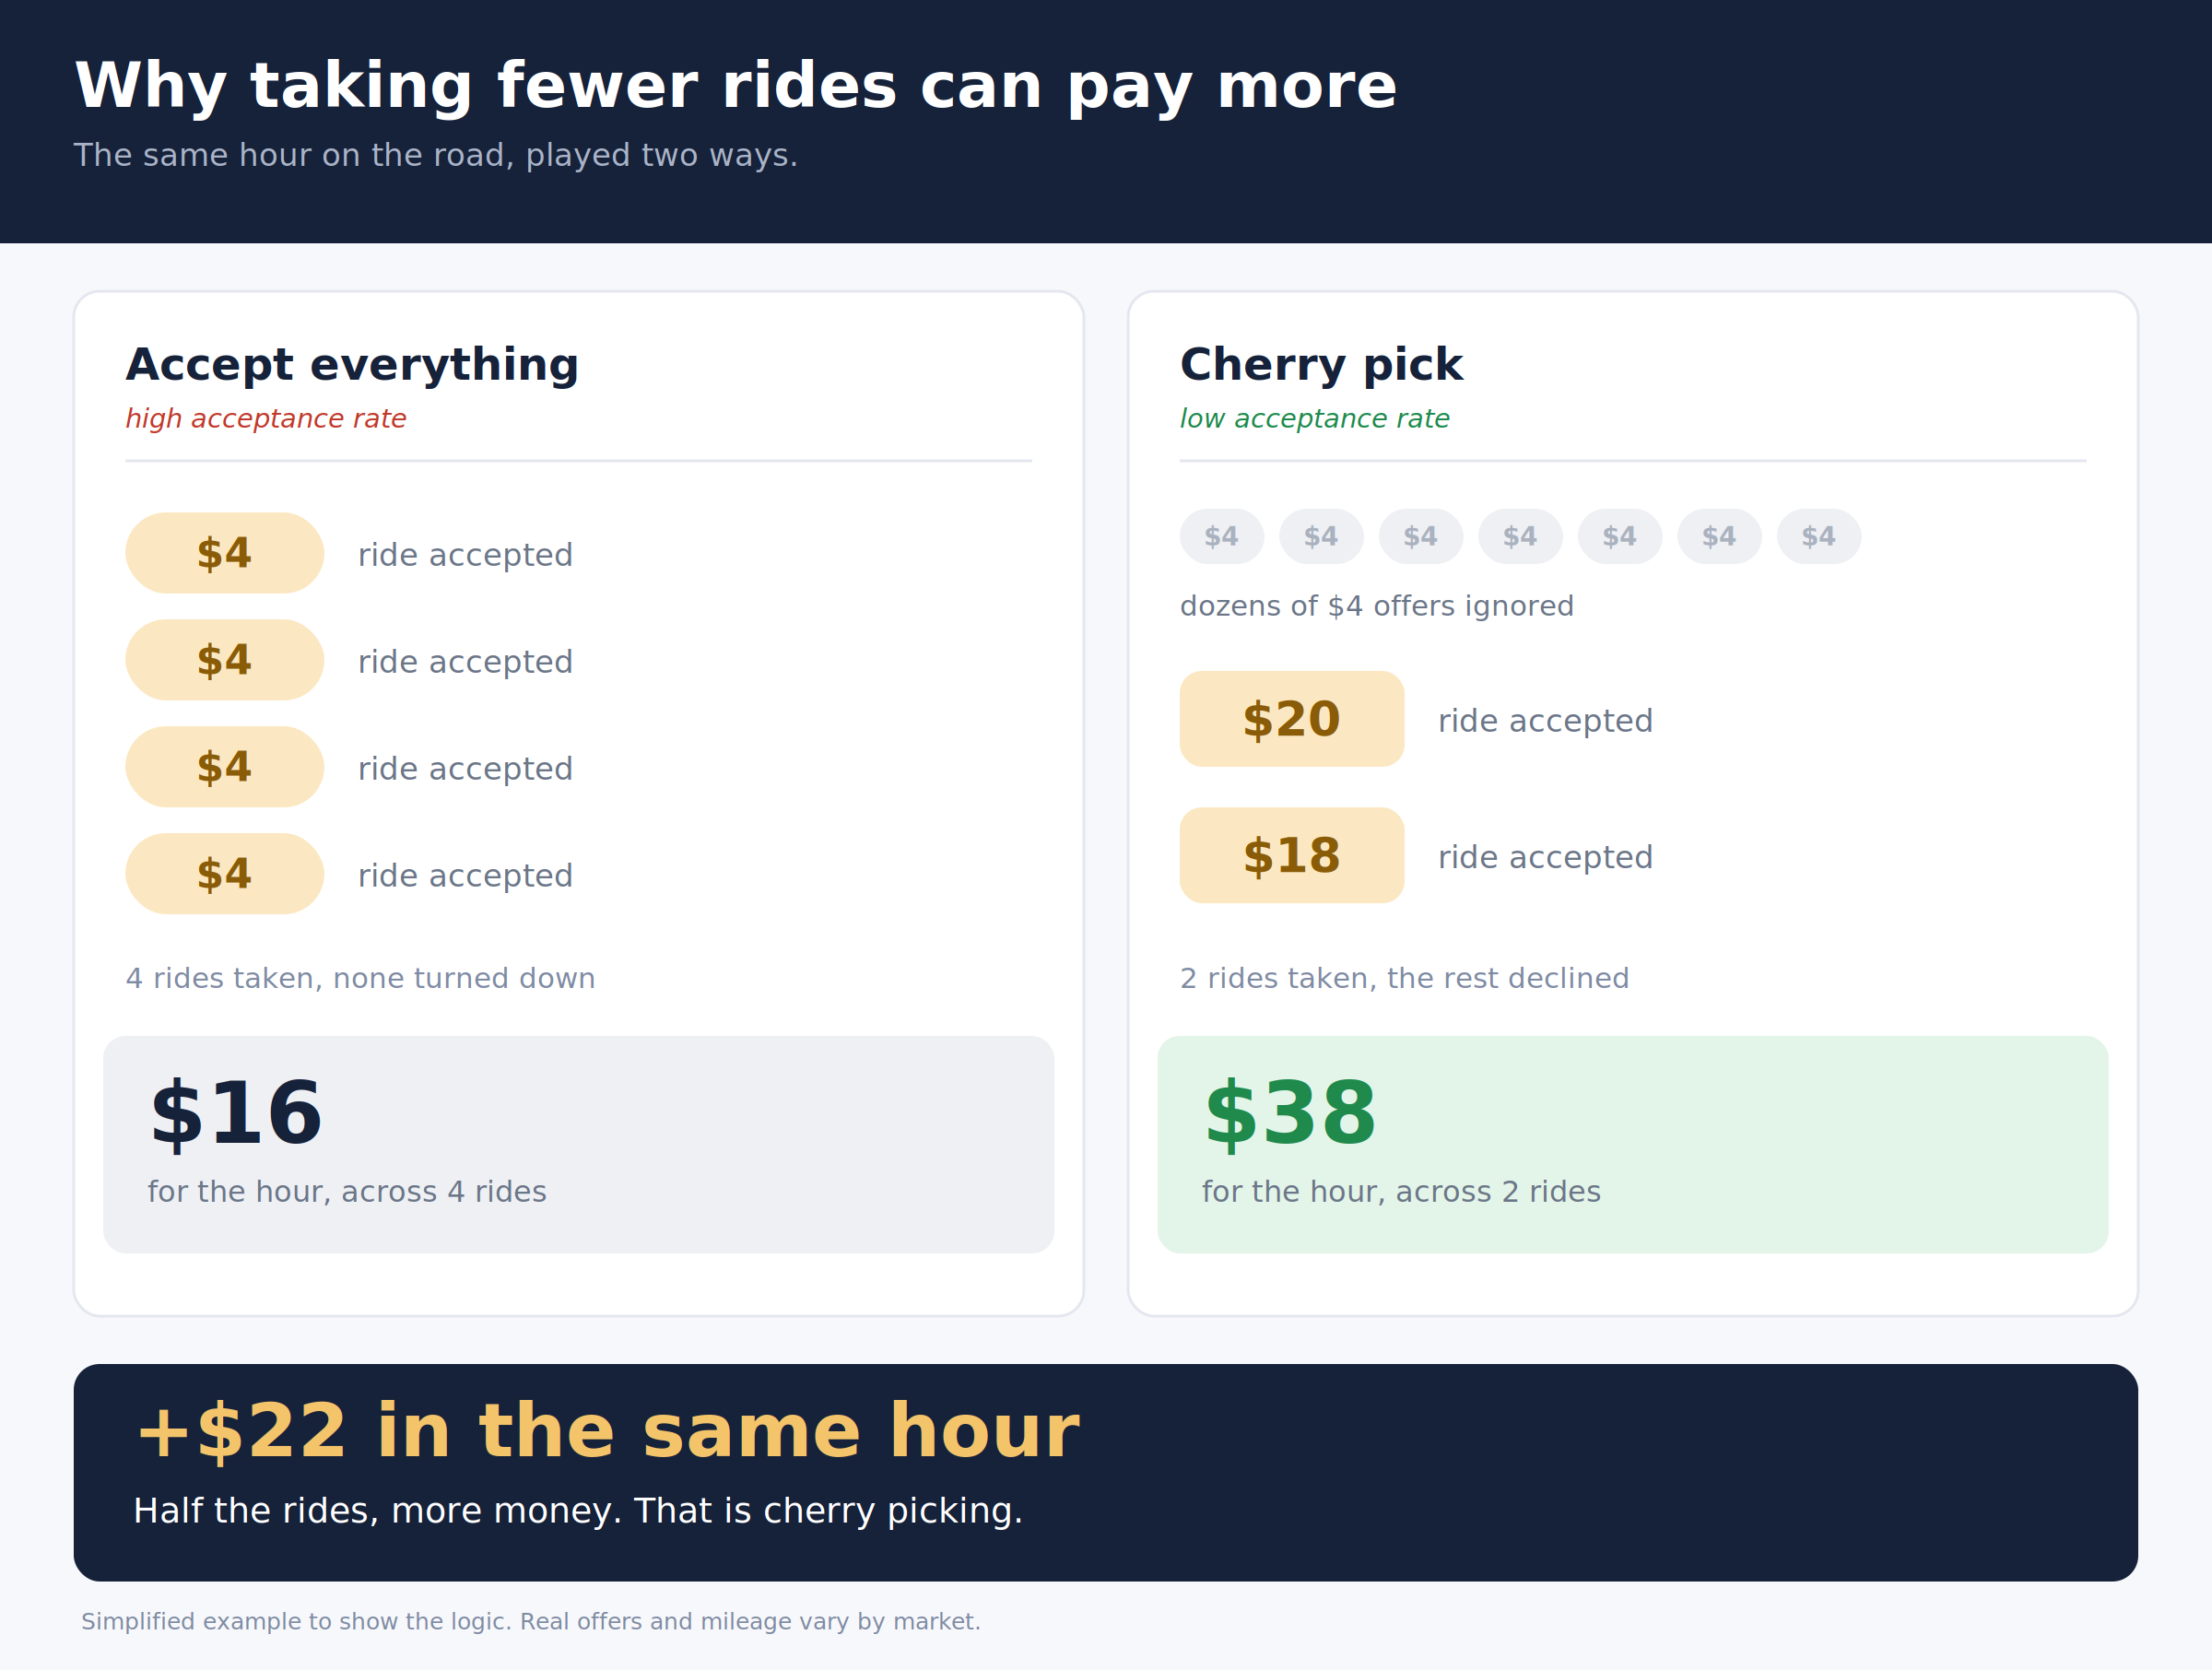
The real question isn't which ranking is best. It's what the drive costs to get there. If a "Best spot" is eight minutes away and your current "Crowded" zone is still producing offers every 12 to 15 minutes, the fuel and time cost of repositioning may eat the advantage. The ranking is one data point, not a command.
Why am I not getting orders in a DoorDash hotspot?
Sitting in a hotspot and getting nothing is the single most frustrating experience on DoorDash, and it's the one that makes drivers question whether hotspots work at all. The signal isn't broken. But several things can explain the gap between what the map promises and what your phone delivers.
Driver saturation. This is the most common cause. A hotspot attracts every driver who sees it. When supply grows faster than order volume, the per-driver offer rate drops sharply. Staying close to popular restaurants but positioning slightly away from the exact hotspot pin can reduce the competition without losing proximity.
Invisible delivery zones. Many drivers report that the zones DoorDash uses to send offers don't line up with the red hex.
Lag in the signal. Hotspots update every 10 minutes. If the lunch rush ended seven minutes ago, the red hex is still on your screen showing where demand was, not where it is. By the time you notice the hotspot, half the orders that created it may already be assigned.
App or connectivity issues. Background data restrictions, a weak cell signal in a parking structure, or the app being paused without you noticing can all create silence that looks like a dead zone but is actually a technical gap.
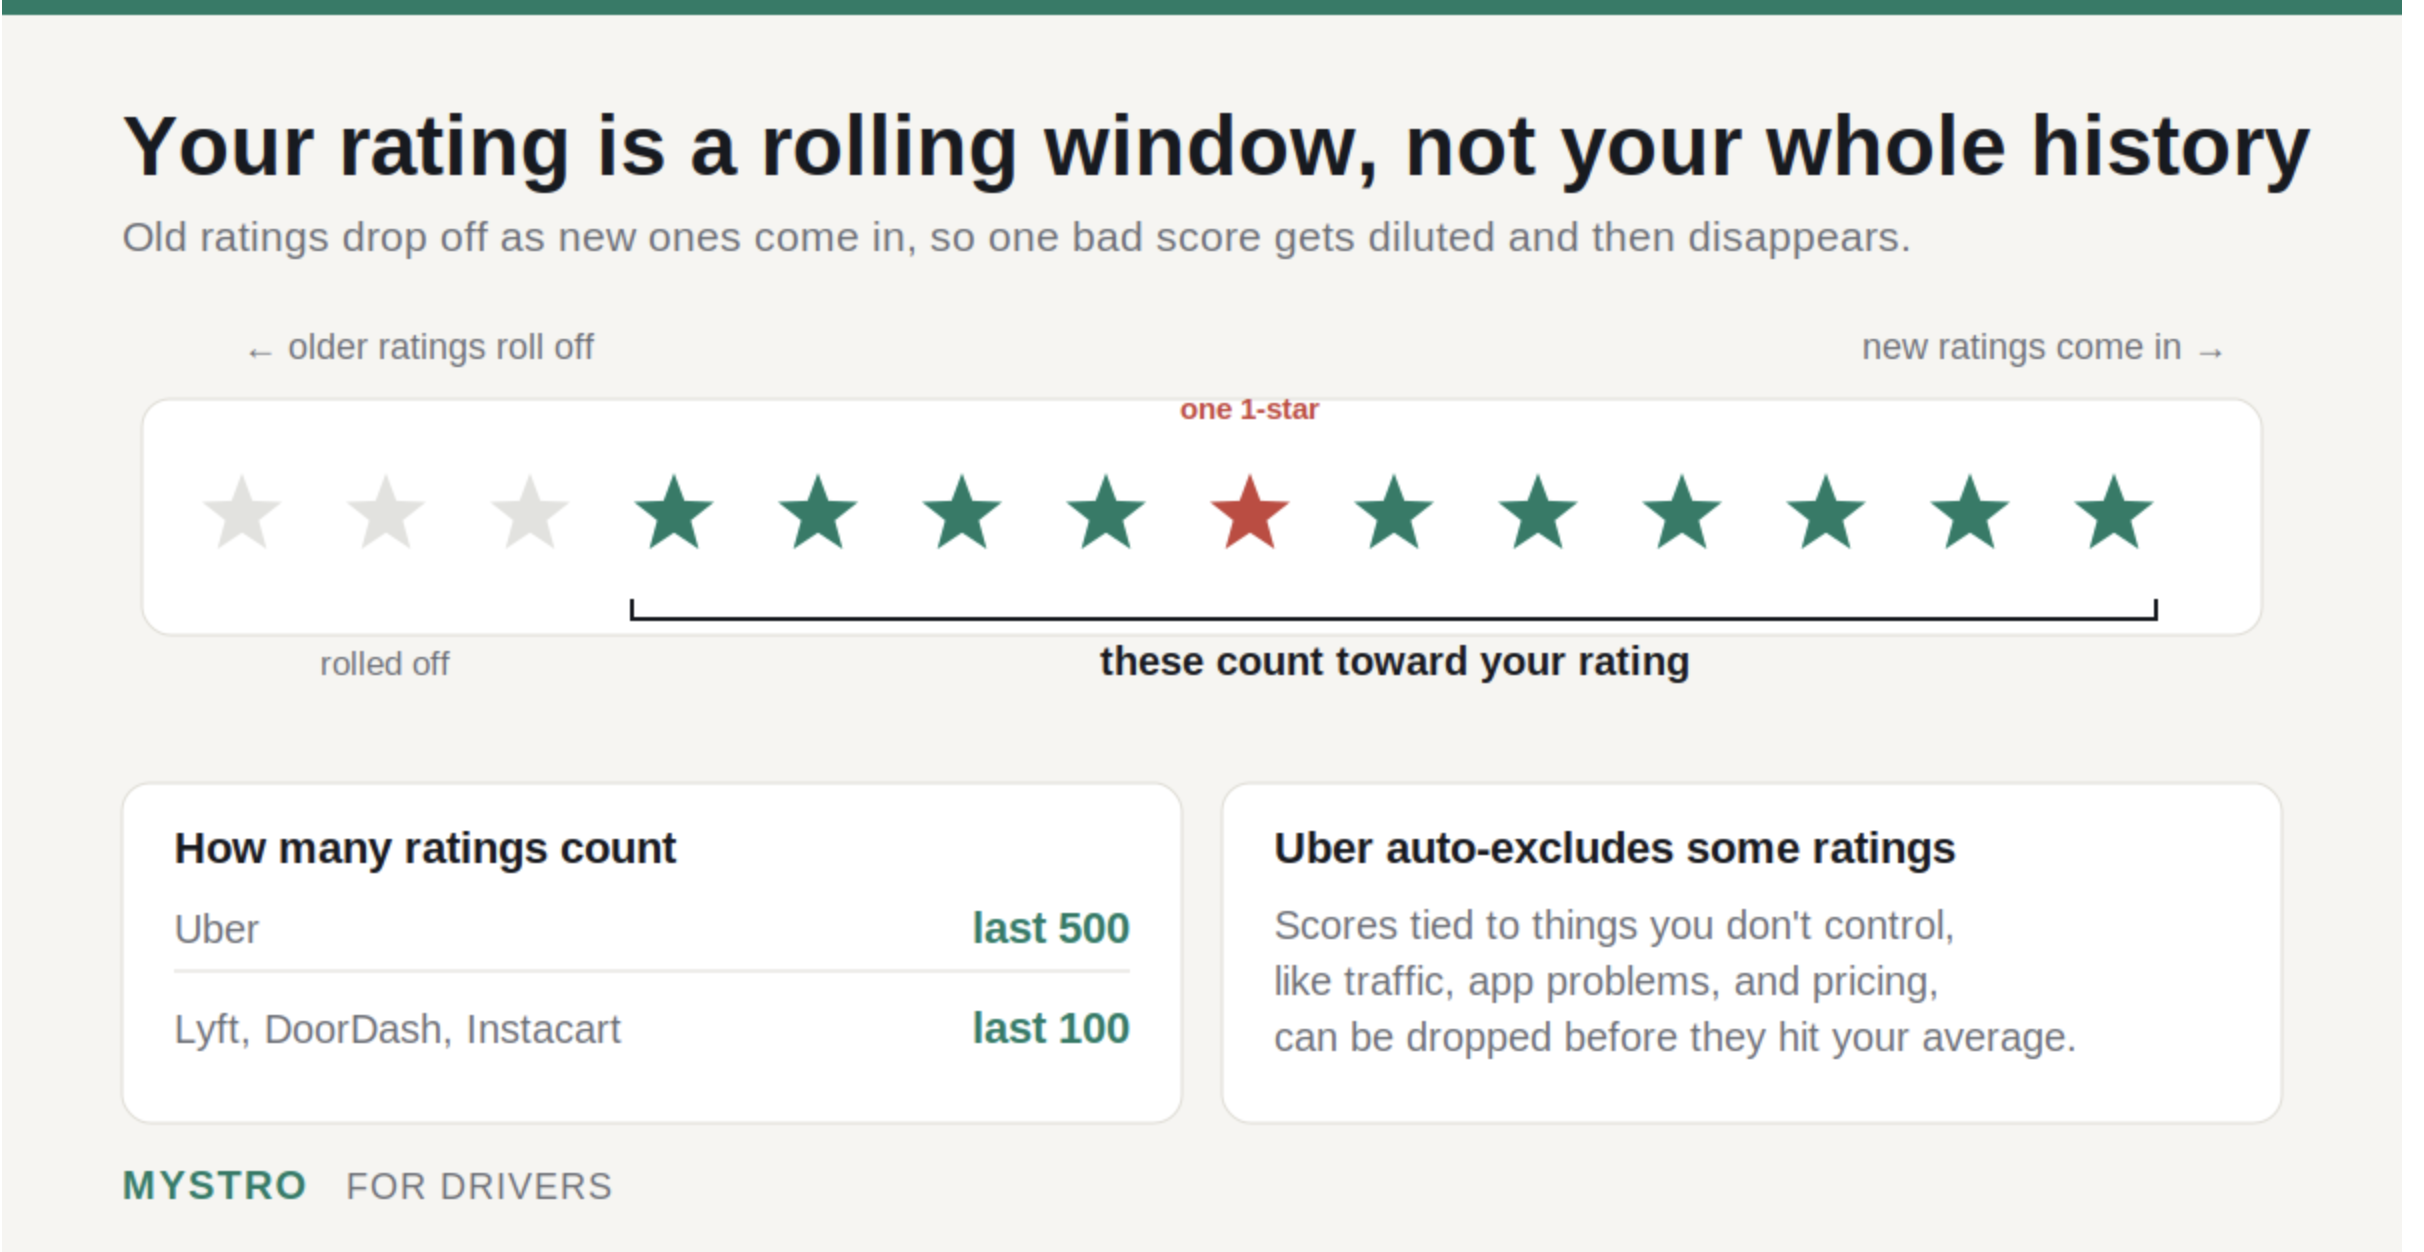
Acceptance rate and Dasher Rewards. DoorDash sets no minimum acceptance rate and won't deactivate you for declining offers [3]. But acceptance rate counts toward Dasher Rewards status, and Silver, Gold, and Platinum Dashers get priority access that makes high-paying offers more likely to reach them [4]. In a crowded hotspot, that priority can mean the best offers go to higher-tier Dashers before they reach you.
The answer to "do hotspots work?" is yes, but with a qualifier. They work as a directional guide, not a GPS pin to guaranteed money. The drivers who benefit most from them are the ones who use the signal as one input alongside their own knowledge of which restaurants in the zone actually produce volume.
How to position yourself near a hotspot (the part most drivers get wrong)
The default instinct is to drive straight to the hotspot pin and park. The catch is that every other driver who saw the same flame had the same idea, so you end up in the densest cluster of competing drivers.
Experienced Dashers use a positioning approach that treats the hotspot as a center of gravity, not a destination.
Park between hotspots, not on them. If two hotspots are active within a few miles of each other, the sweet spot is often the midpoint. You remain within range of both zones and receive offers from either direction. This also puts you near restaurants that may not be generating enough volume to trigger their own hotspot but are still sending out orders.
Triangulate with restaurant clusters. Position yourself near a hotspot but between other restaurants that take delivery orders. A strip of three or four restaurants that aren't inside the hotspot boundary can still produce steady offers, and you're the closest driver to all of them.
Don't chase a new hotspot if yours is still producing. A "Crowded" hotspot that sends you an offer every 12 minutes is better than a "Best spot" that takes 8 minutes of unpaid driving to reach. The commute cost, including fuel and dead time, often exceeds the improvement in offer frequency. Move when your zone goes truly cold, not when a shinier option appears.
Build your own power strips. Over several shifts, you'll notice corridors, usually a half-mile stretch of road lined with restaurants, that consistently produce orders regardless of what the hotspot map shows. These are your personal power strips. They outperform any algorithm-driven signal because they're based on your direct experience in your specific market.
Your phone buzzes in the mount. You glance at the offer card, check the fare and distance, and decide in seconds. Where you're parked when that buzz comes determines whether the offer is a winner or a waste. Positioning is the variable you control.
The hotspot and heatmap combination: planning vs reacting
Here's the catch with in-app hotspots: DoorDash only shows them once you're dashing. That's fine for adjusting on the road, but it can't help you pick where to start.
The Mystro DoorDash Heatmap fills that gap. It shows historical offer density by hour and day of week across US markets, letting you compare zones before you leave the house. Where the in-app hotspot answers "what's happening now-ish," the heatmap answers "what usually happens here at this hour on this day."
The combination works like this: check the heatmap before your shift to pick a starting zone based on what that area typically produces at this hour. Once you're on the road, use the in-app hotspots to adjust your position based on what's actually happening. Planning and reacting are complementary layers. The best DoorDash areas tend to show up consistently on both surfaces.
Find the zone, then the offer: Download Mystro so you can personalize your filters and automatically pick the best offer.
What to do when there are no hotspots on the map
Between meal rushes, the hotspot map often goes blank. No red hexes, no flames, just a gray map. New drivers sometimes interpret this as "DoorDash is dead right now." That's not always true. It means the current order volume isn't concentrated enough to trigger a hotspot signal in any single area.
Orders still flow during off-peak hours. They're just spread more evenly across the map instead of clustering around specific restaurants. Here's how to handle a blank map:
Fall back to historical flames. Even when dynamic hotspots disappear, historical flame icons often remain visible. These mark zones that tend to be busy at this time of day based on past data. They're your best in-app guide when the red hexes are gone.
Check the Mystro heatmap. The heatmap shows what a given zone typically produces at the current time and day. A dark in-app map doesn't mean the heatmap is dark too. The historical data may show a zone that's about to enter its peak window.
Turn on Shop & Deliver orders. DoorDash says Shop & Deliver offers (grocery, convenience, and retail orders you shop for in the store) are available between the lunch and dinner rushes [2], and that on average they pay more per order than a restaurant delivery [5]. If you see the Shop & Deliver toggle in your Dash Preferences, switching it on can keep offers coming when hotspots disappear.
Run a second app. If your DoorDash map is empty, Uber Eats or Lyft may still have demand in your area. Running multiple platforms simultaneously means a dead spell on one app doesn't kill your shift. Mystro handles the offer filtering and app-switching automatically, so you stay focused on driving instead of toggling between apps.
The broader point: hotspots are one layer of information, not the entire picture. The drivers who earn consistently across full shifts are the ones who have multiple fallback strategies (like multi-apping) ready when the primary signal goes quiet. Knowing the best times to DoorDash in your area helps you anticipate when those dark-map windows are coming.
Frequently asked questions about DoorDash hotspots
What is a DoorDash hotspot?
A hotspot is a map overlay in the Dasher app that highlights an area with elevated order activity. Dynamic hotspots (red hex + flame) show currently busy zones. Historical hotspots (flame only) mark areas that have been active at this hour based on past data. Both refresh every 10 minutes.
Do DoorDash hotspots work?
They work as a directional signal, not a guarantee. Hotspots point you toward areas with higher order volume, but they lag behind real-time demand by up to 10 minutes and attract competing drivers. Using them as one input alongside your own zone knowledge produces better results than following them blindly.
What does "Best spot" mean in ranked hotspots?
DoorDash hasn't published a definition, but drivers report that "Best spot" marks the hotspot with the fewest Dashers relative to demand. It doesn't signal the highest pay or the most orders. A low-volume area labeled "Best spot" may produce fewer offers than a "Crowded" zone in a busy restaurant corridor.
Do you have to be inside a hotspot to get DoorDash orders?
No. DoorDash says you don't have to be within the red area to receive an order, but the closer you get, the more likely you are to get one [1]. Many drivers park a block or two from the center of a hotspot to stay close without joining the thickest cluster of competing Dashers.
Should I move to a different hotspot if mine is crowded?
Not automatically. DoorDash says the closer you are to a hotspot, the more likely you are to get an order [1], so a crowded one nearby can still be worth staying in. Factor in the commute cost: if the next hotspot is five to eight minutes of unpaid driving away, the fuel and time expense may wipe out any improvement in offer frequency. Move when your zone goes truly cold, not when a different zone looks better on the map.
Can I see DoorDash hotspots without starting a dash?
No. DoorDash shows hotspots on your Dasher map only while you're dashing [1]. For pre-shift planning, the Mystro DoorDash Heatmap shows historical offer density by hour and day, letting you evaluate zones before you start driving.
Find the right place, accept the right offer
Knowing where to position yourself is the first layer of earning well on DoorDash. Knowing which offers to accept once they arrive is the second. Mystro auto-rejects offers that fall below your configured $/hr and $/mi thresholds and auto-accepts the ones that clear them, so you spend less time evaluating and more time earning.
References
[1] DoorDash. "Stay busy and earn more with Hotspots." DoorDash Help Center, accessed 2026-09-26. https://help.doordash.com/en-us/dashers/article/how-can-i-find-hotspots-in-my-area
[2] DoorDash. "DoorDash Hotspots: How to Find the Best Places to Dash." DoorDash Dasher Central Blog, 2025-11-21. https://dasher.doordash.com/en-us/blog/doordash-hotspots
[3] DoorDash. "Dasher Ratings Explained." DoorDash Help Center, accessed 2026-09-26. https://help.doordash.com/en-us/dashers/article/dasher-ratings-explained
[4] DoorDash. "Dasher Rewards Program." DoorDash Help Center, accessed 2026-09-26. https://help.doordash.com/en-us/dashers/article/dasher-rewards-program-pilot
[5] DoorDash. "How to Prepare for Shop & Deliver Offers on DoorDash." DoorDash Dasher Central Blog, 2024-10-10. https://dasher.doordash.com/en-us/blog/how-to-prepare-for-shop-and-deliver
This post first appeared in The Mystro Newsletter — driver tips, earnings strategies, and Mystro updates, in your inbox every week.